Automate your zoho inventory via SMS
Goal
Automate post-shipment notifications end-to-end:
- Trigger on “Shipment Created” in Zoho Inventory.
- Notify the customer via D7 SMS with tracking details.
- Notify your logistics team in Slack with shipment context for operational visibility.
Step 1: Setup Trigger App (Zoho Inventory)
- Module: Zoho Inventory > Watch Shipments (Created)
- Connect Zoho Inventory
- Click Add connection, complete OAuth, and select the correct Zoho domain (e.g., .com, .eu, .in).
- Choose the Organization (Org ID) that owns the shipments.
- Configuration:
- Event type: Created (or equivalent) to capture only new shipments.
- Since/From: Set an appropriate start time to avoid importing historical shipments (or leave default to start now).
- Limit/Batch size: Keep default for testing; adjust later if volume is high.
- Outputs you’ll map later (typical fields):
- Shipment number and date
- Sales order/invoice reference
- Customer name
- Customer phone (billing/contact phone)
- Carrier and tracking number
- Tracking URL (if provided by Zoho or your carrier integration)
Tips:
- If your customer phone isn’t directly on the shipment object, use a preceding step to “Get Contact” by Customer ID and map the phone from there.
- Normalize phone numbers to E.164 using a Formatter step if your data is inconsistent.
Step 2: Configure D7 SMS module
- Module: D7 SMS > Send SMS
- Connect D7:
- Add connection using your D7 API key/token. Ensure your Sender ID is approved and you have sufficient credit.
- Fields:
- From (Sender ID): Your registered Sender ID or number.
- To: Map the customer phone from the Zoho shipment (use E.164 format, e.g., +15551234567).
- Message: Use a clear, concise template. Example:
- Hi {{CustomerName}}, your order {{OrderNumber}} has shipped via {{Carrier}}. Tracking: {{TrackingNumber}} {{TrackingURL_if_available}}
- Options:
- Enable unicode if you use special characters.
- Consider splitting long messages or keeping under 160 chars for single-part SMS.
- Error handling:
- Add a filter to skip SMS if the phone is empty or invalid.
- Use Make’s error handler to retry on transient failures (e.g., network errors).
Step 3: Add follow-up actions (Slack)
- Module: Slack > Create a message (or Post message)
- Connect Slack:
- Add connection and authorize the workspace. Ensure the app/bot is in the desired channel.
- Fields:
- Channel: #logistics (or your team’s channel)
- Message text (example):
- New shipment created
• Shipment: {{ShipmentNumber}} ({{ShipmentDate}})
• Order: {{OrderNumber}}
• Customer: {{CustomerName}}
• Carrier/Tracking: {{Carrier}} / {{TrackingNumber}}
• Link: {{TrackingURL_if_available}}
- Optional enhancements:
- Add a filter to only notify Slack for certain carriers or priorities.
- Include deep links to the Zoho shipment or sales order for quick access.
- Add a Router: if customer phone missing, skip D7 SMS but still post to Slack.
Test Your Workflow
1) Prepare data:
- In Zoho Inventory, create a test shipment tied to a contact with a valid mobile number (E.164 format). Include a tracking number and, if available, a tracking URL.
2) Run scenario once in Make:
- Click Run once, then create the test shipment. Confirm the trigger module receives the record.
3) Validate D7 SMS:
- Check the module output for status/ID. Confirm the phone receives the SMS and content is correct.
4) Validate Slack:
- Confirm the message appears in the chosen channel with the expected fields.
5) Edge cases:
- Test without tracking URL to ensure the SMS/Slack text still reads cleanly.
- Test with missing customer phone to verify your filter prevents SMS errors.
6) Go live:
- Turn on the scenario and set a scheduling interval (e.g., every 1 min).
- Monitor the first few runs in the Make execution log for any errors or rate limits.
Clone this Make scenario and deploy.
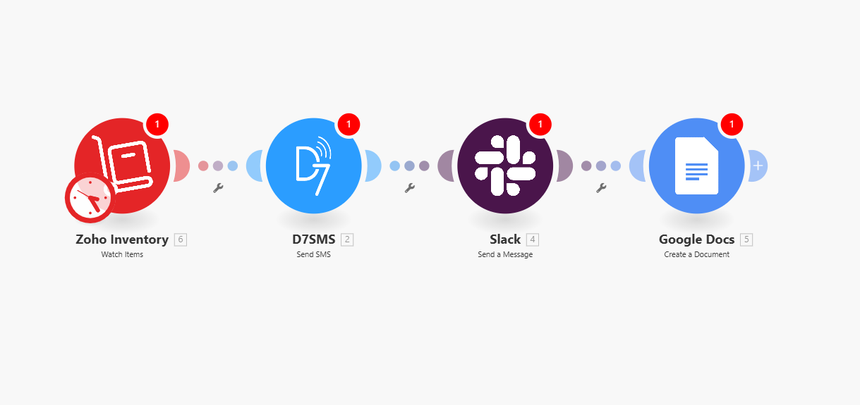
- Ready to use: Zoho Inventory (Watch Shipments) → D7 SMS (Send SMS) → Slack (Create message)

Integrate Now
Configure your connections, map fields, test, and go live.